Features
- Quality aesthetic natural looking restorations in a single session.
- Prevents the oxygen inhibition layer during curing process resulting in a hard, glossy surface.
- Allows light to pass through the template to the composite for effective curing.
- Works with any preferred composite.
- Releases easily from cured composite resin.
- Requires minimal adjusting or polishing—saves time.
- Can be used on individual or multiple teeth.
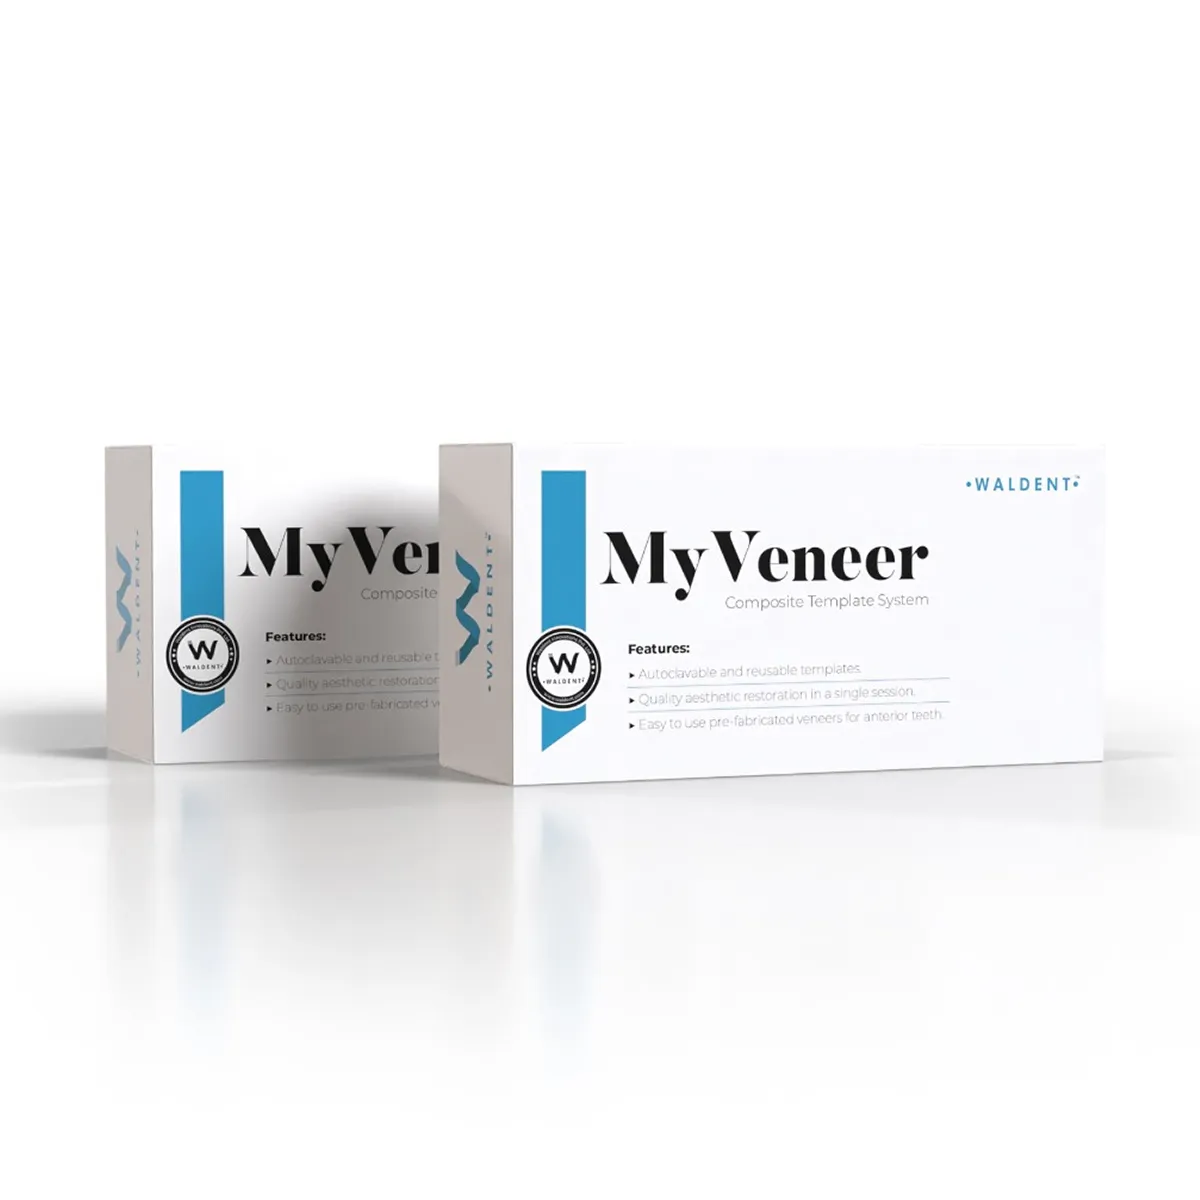
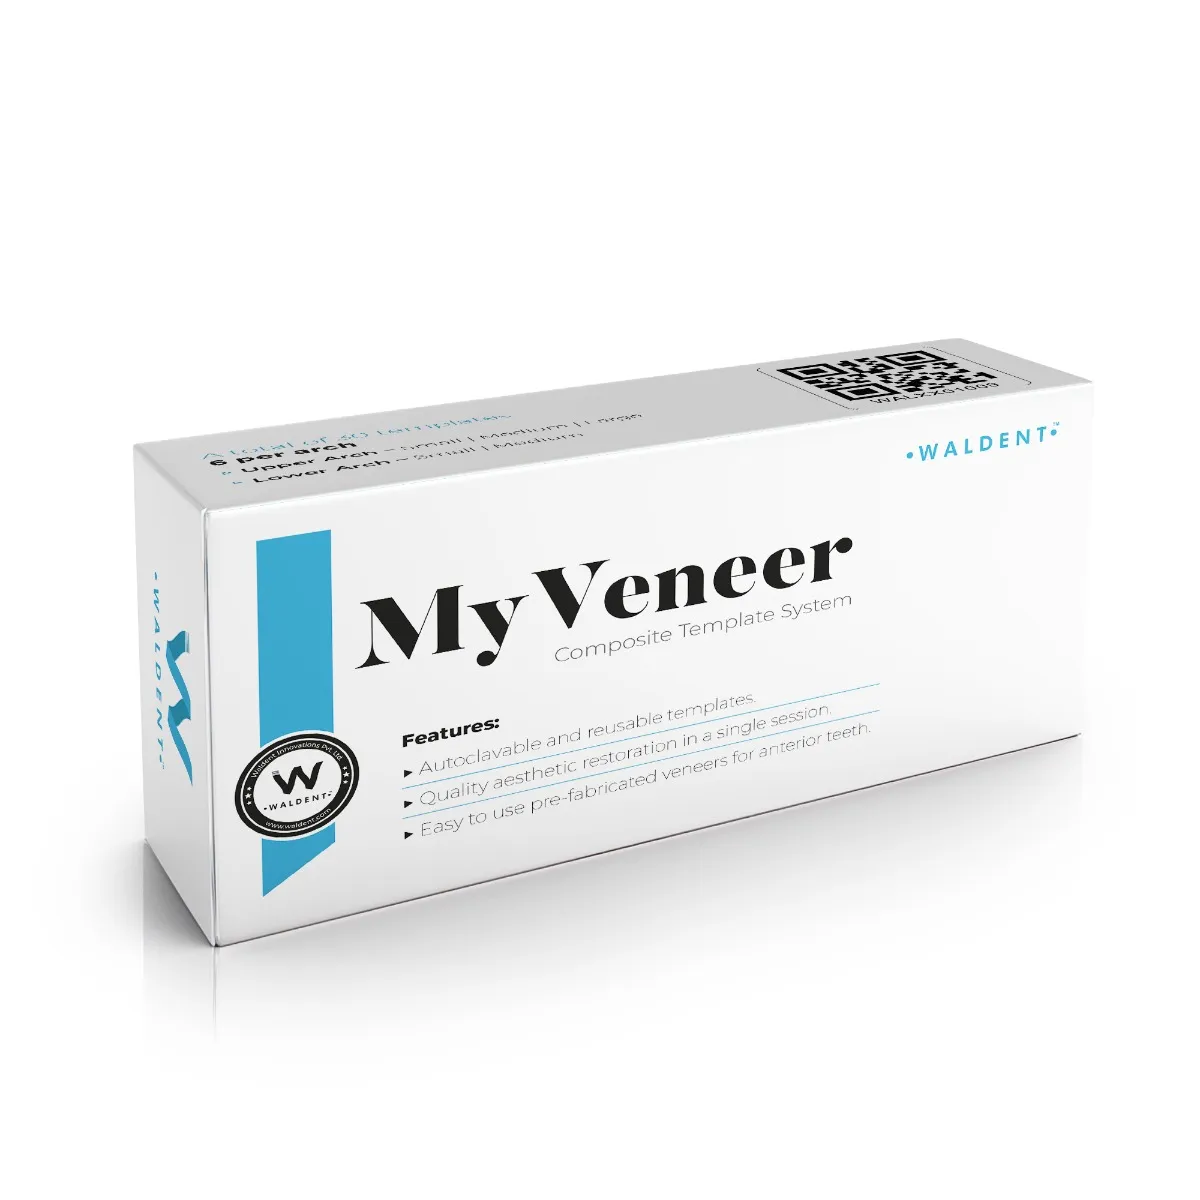
- Autoclavable and reusable Templates.
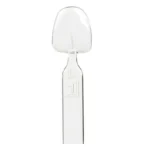
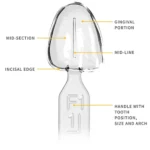
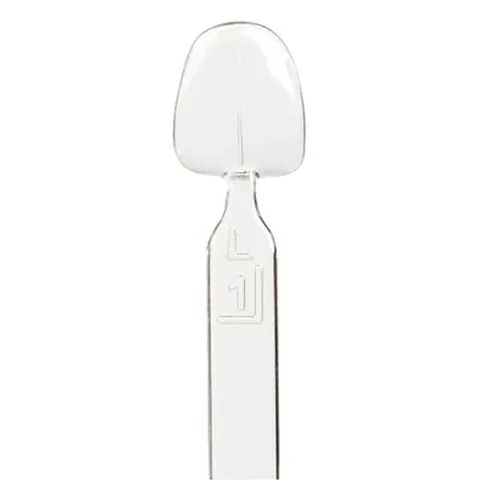
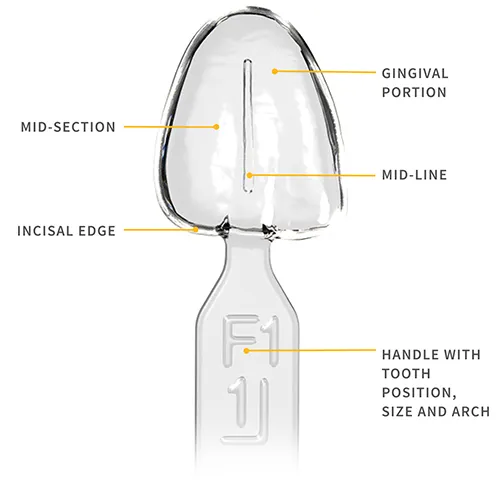
- Each template is numbered to correspond with the tooth number, tooth size, and upper and lower arch.
Description
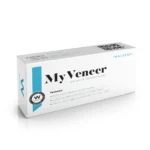
Waldent myveneer composite template system creates beautiful composite veneers with predictable shape and symmetry. It mimics natural dentition and is designed to create high-quality, natural-looking anterior restorations in just one visit. These templates use innovative technologies that help achieve a refined, anatomically correct, high-gloss restoration in a fraction of the time than if done freehand. Results are both reproducible and predictable, making your anterior restorations faster and more cost effective.
Indications :
- Direct composite veneer applications.
- Cosmetic mock-ups and shade selection.
- Temporaries during porcelain veneer creation.
- All Class 3, 4, and 5 restorations.
Specifications
Template Material-Medical Grade Translucent Plastic
6 templates per size
- Upper Arch – Small, Medium, Large
- Lower Arch – Small, Medium
Packaging
- 1 x 30 Templates
Direct to Use
Step 1
Choose universal composite or preferred composite shade(s). Select the template that corresponds with the tooth being restored. See handle of template for corresponding tooth number, size, and arch.
Step 2
Remove all caries if needed and minimally prepare the tooth.
Step 3
Place interproximal separating matrices and apply preferred etchant.
Step 4
Rinse etch according to manufacturer’s instructions.
Step 5
Apply preferred adhesive to tooth surface.
Step 6
Light cure on standard power for 10 seconds or cure according to manufacturer instructions.
Step 7
Apply universal composite or preferred composite directly onto tooth.
Step 8
Do not light cure composite.
Step 9
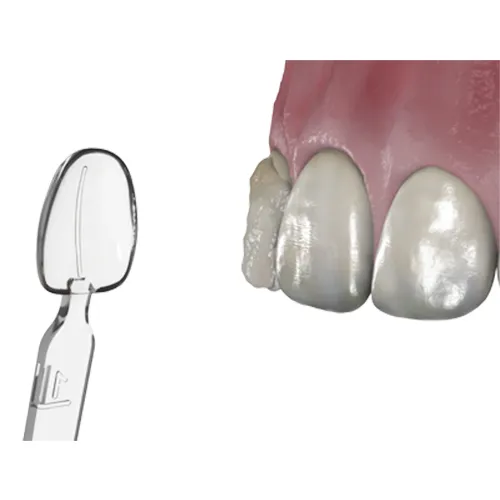
Select chosen Uveneer template. Template should ideally cover the entire facial surface of the tooth. If not, additional composite may be used at the periphery to compensate.
Step 10
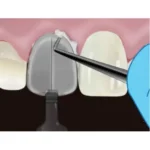
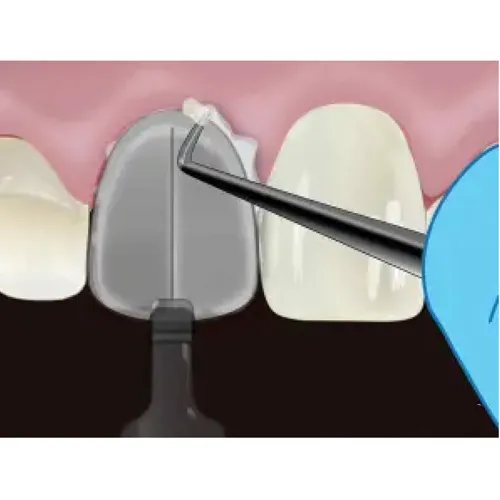
Align centerline of template parallel to the midline of the face and perpendicular to the incisal plane. Using thumb, press the concave side of the selected template onto the tooth. Press firmly to remove any trapped air.
Step 11
Remove any excess composite from the periphery.
Step 12
Using curing light, cure composite through template. For every 2mm layer, cure 1–2 x 10 seconds on Standard Power, 1–2 x 4 seconds on High Power, or 1–2 x 3 seconds on Xtra Power. If using other curing light, cure according to manufacturer instructions.
Step 13
Remove the template by gently lifting the handle. Using curing light do final cure directly onto composite.
Step 14
Avoiding the glossy facial surface, trim excess composite from periphery with a fine flameshaped bur for minimal finishing and adjusting if desired.
Step 15
Immediately after use, thoroughly wipe template with alcohol pad, dry, bag, and autoclave according to Uveneer template IFU. Do not leave any composite residue on the template in order to maintain translucency and shine.






Reviews
There are no reviews yet.